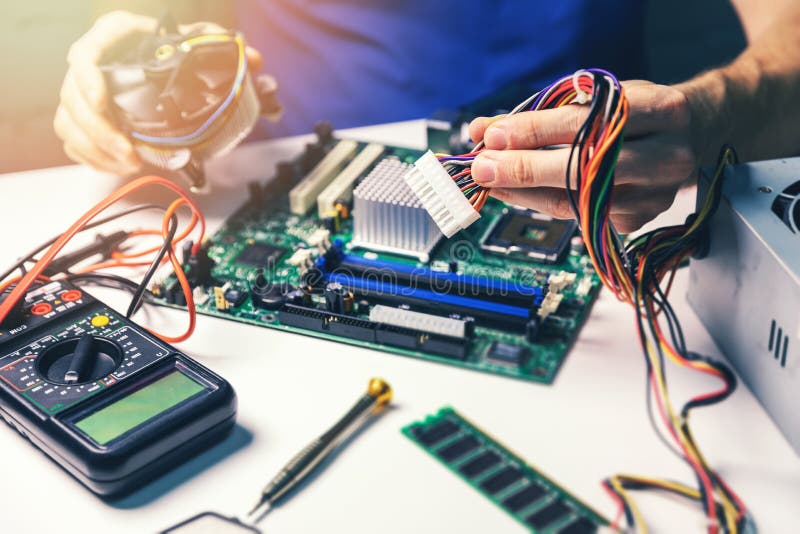
ü INSTALLING OF HARDWARE
{1} Click on
the Start button then it displays a popup menu.
{2} Select
Settings from the popup menu, then it displays a cascading menu.
{3} Select
and click on the Control panel from the cascading menu, then it displays panel window.
{4} Select
and click on Add new hardware icon from the control panel windows, then it
displays add new Hardware wizard.
{5} click on
the Next button from the above wizard then it displays one more by showing two
options.
{6} Select
the second option that is device is not in the list and click on the next
button. Then it displays the next button. Then it displays varies manufactures.
Then it displays varies and models of the Hardware component.
{7} Select
the hardware compound and it manufacture, then click on the next button. After
some time, Operating system trying it displays the message that the hardware
has been installed successfully.
ü UNINSTALLING OF HARDWARE
{1} Click on
the Start button then it displays a popup menu.
{2} select
Settings from the popup menu, then it displays a cascading menu.
{3} Select
and click on Control panel from the cascading menu, and then it displays a menu,
then it displays a control panel window.
{4} select
and double click on System icon from the control panel window, then it displays
the system Properties dialogue box.
{5} Select
and click on Device manager option from the menu on the dialogue box.
{6} select
the hardware component that you want to uninstall and click on Remove button
and then it displays a wizard for confirmation.
{7} Click on Yes button to uninstall the hardware from the computer.

No comments:
Post a Comment